Last updated: Updated August 29, 2026
If you’re staring at your phone right now, twelve blurry photos deep, wondering why your baby’s passport photo is this hard, you are not alone, and you are not doing it wrong. I tried, with two extra pairs of hands helping me, and we could not get a compliant shot of my own daughter. A friend of mine had the opposite experience, her husband managed it solo, no help needed. Both are completely normal outcomes. This guide walks through exactly what the US Department of State requires, how the technique actually changes depending on your baby’s age, the at-home method that works, and when it’s genuinely worth paying a professional instead.
Table of Contents
Official Baby Passport Photo Requirements
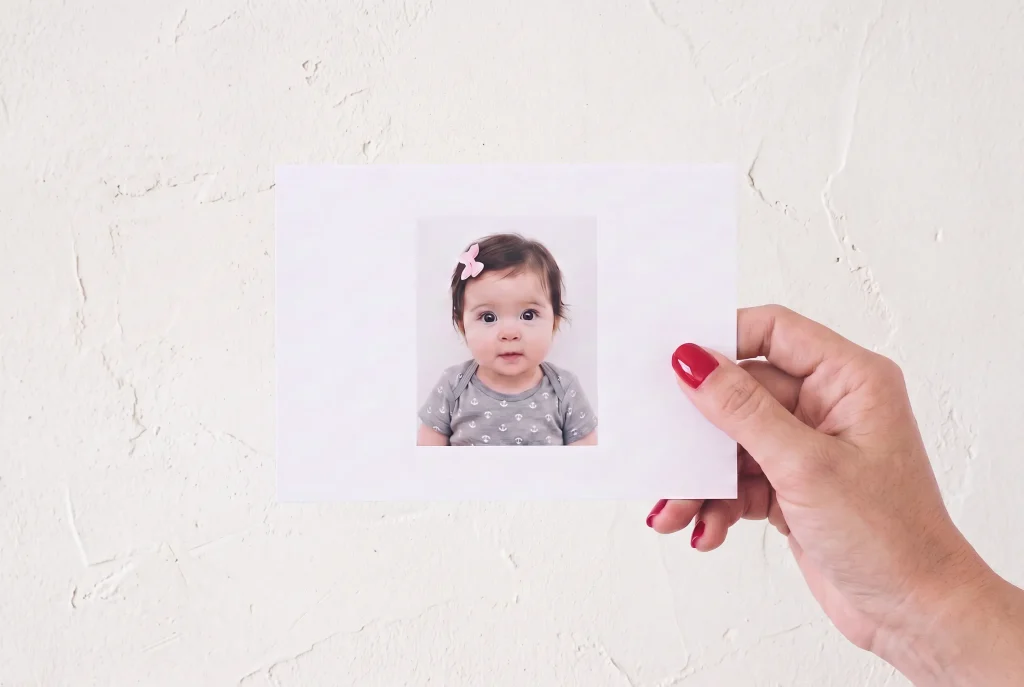
A baby passport photo must meet the exact same core standard as an adult’s: a 2 x 2 inch color photo, taken in the last 6 months, on a plain white or off-white background, with the face centered and fully visible. According to the US Department of State’s official photo requirements page, only two things are relaxed for infants: the eyes don’t need to be fully open, and you’re allowed to lay the baby down or use a covered car seat instead of having them stand.
| Allowed for babies | Never allowed, any age |
|---|---|
| Eyes partially or mostly closed (under 12 months) | A parent’s hands, arms or body visible in frame |
| Lying flat on a sheet instead of standing | Pacifiers, toys, blankets covering the face |
| A covered car seat as head support | Filters, AI editing, or background removal software |
How to Take the Photo by Age
This is the single biggest factor in how easy or hard this photo will be. A technique built for a sleepy newborn will not work on a mobile 9-month-old, and trying the wrong approach for your baby’s stage is the number one reason parents give up and go straight to a photographer. Here’s what actually changes at each age, and the specific adjustments that make the difference.
| Age | Difficulty | Eyes required open? | Best position |
|---|---|---|---|
| 0 to 2 months | Easy | No | Flat on back, shot from above |
| 2 to 4 months | Moderate | No, but recommended | Flat, slightly propped with a rolled towel under the sheet |
| 4 to 6 months | Moderate | No, but recommended | Covered car seat, semi-upright |
| 6 to 9 months | Harder | Yes | Sitting, supported from behind out of frame |
| 9 to 12+ months | Hardest | Yes | Sitting or standing against a wall, briefly |
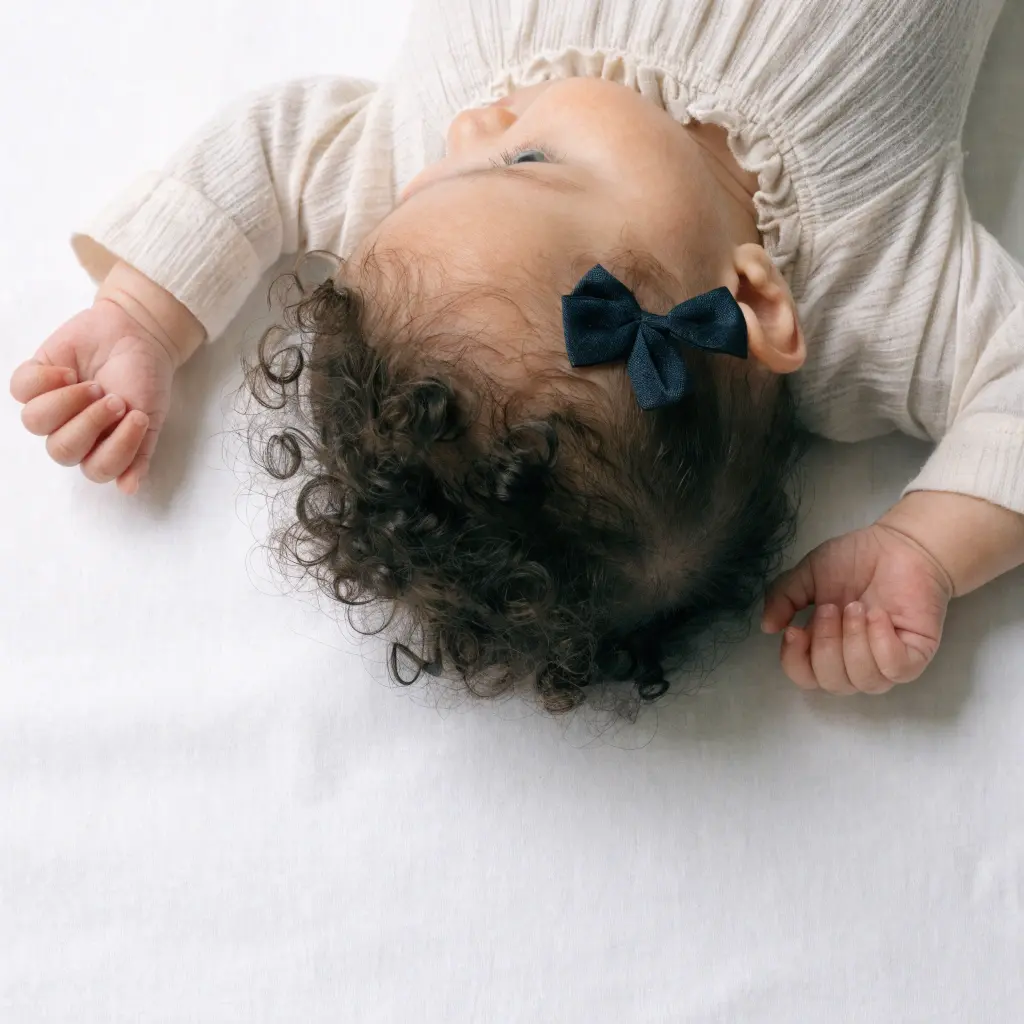
Right after a feed is the sweet spot, most newborns go calm and heavy-eyed for a solid 20 to 30 minutes. Lay them flat on their back on the white sheet, shoot straight down, and let closed eyes be closed eyes. Don’t try to force them open, the State Department’s own guidance says it’s fine for this age. This is genuinely the age where the at-home method has the highest success rate.
Babies this age start actively looking around, which is good for open eyes but bad for staying still. Try slipping a rolled towel under the sheet, just beneath the shoulders, to tilt the head back slightly toward the camera without anyone’s hands in frame. Shoot in short bursts rather than waiting for one perfect moment, you’ll get more usable frames that way.
Head and neck control is usually strong enough now that a semi-upright position in a car seat, fully draped in a white sheet, gives a more natural, awake expression than lying flat. Position the car seat facing a window for even light, and have a second white sheet ready to smooth over any part of the seat that peeks through.
This is where the eye rule tightens and patience runs thinner. Sit your baby propped against a couch cushion or high chair covered in a white sheet, with a helper positioned directly behind the camera (not beside baby) holding up a toy or making a sound to get a forward-facing, open-eyed look. If you’re doing this solo, prop your phone on a stand and use a timer or the volume-button shutter so both your hands are free to keep baby upright and safe.
Mobile, opinionated, and rarely interested in sitting still for a camera pointed at their face. If you’re set on DIY, try a wall with a white sheet taped up and baby standing braced against your legs just out of frame, working fast in short bursts. But honestly, this is the age band where booking a specialist tends to save the most time and the most frustration, since a professional setup with a second person to engage baby usually gets a compliant shot in a couple of minutes flat.
The At-Home Method, Step by Step
This is the method that’s worked for parents online, and the one my friend’s husband used solo for their own baby, no second pair of hands needed.
- Lay down a plain white or off-white sheet on the floor, bed, or changing table, smoothed out flat with no wrinkles or patterns showing.
- Place your baby on their back in the center of the sheet, ideally right after a feed when they tend to be calm and relaxed.
- Use soft natural light from a window, not direct sun and not overhead flash, to avoid shadows across the face.
- Stand directly above and shoot straight down with your phone, filling the frame with your baby’s head and shoulders.
- Take far more shots than feels necessary. One parent-tested trick shared online: hold a small toy just outside the frame to catch your baby’s attention for open, forward-facing eyes, then take a burst of shots rather than single photos.
- Crop out anything extra. If a hand or the edge of the sheet sneaks into frame, most phones let you crop tightly around just your baby before printing or uploading.
When DIY Doesn’t Work: Going to a Professional
If you’ve genuinely tried the at-home method a couple of times and it isn’t clicking, that’s not a failure, it’s just information. A specialist baby passport photographer has the setup, lighting, and patience built for exactly this, and the appointment itself is usually shockingly fast.
I tried at home with two other people helping me, and we simply couldn’t get it right. A friend of mine had a completely different experience, her husband managed to take theirs alone, no help needed at all. So if the DIY route isn’t working for you either, know it’s not a technique failure on your part, some babies and some setups just don’t cooperate that day. I ended up booking a specialist baby passport photographer, and it was fast and completely painless. My daughter was calm the entire time, and the photo came out beautiful, she was 19 days old.
Here’s how to actually find and book one:
Expect to pay somewhere between $10 and $20 at a pharmacy or shipping store, and slightly more for a dedicated baby-focused photo studio. It’s a small cost against the alternative of a rejected application and weeks of delay.
What Actually Happens at a Pharmacy or Photo Studio Appointment
If you’ve never done this before, the appointment itself is quicker and simpler than it sounds. Here’s the real sequence.
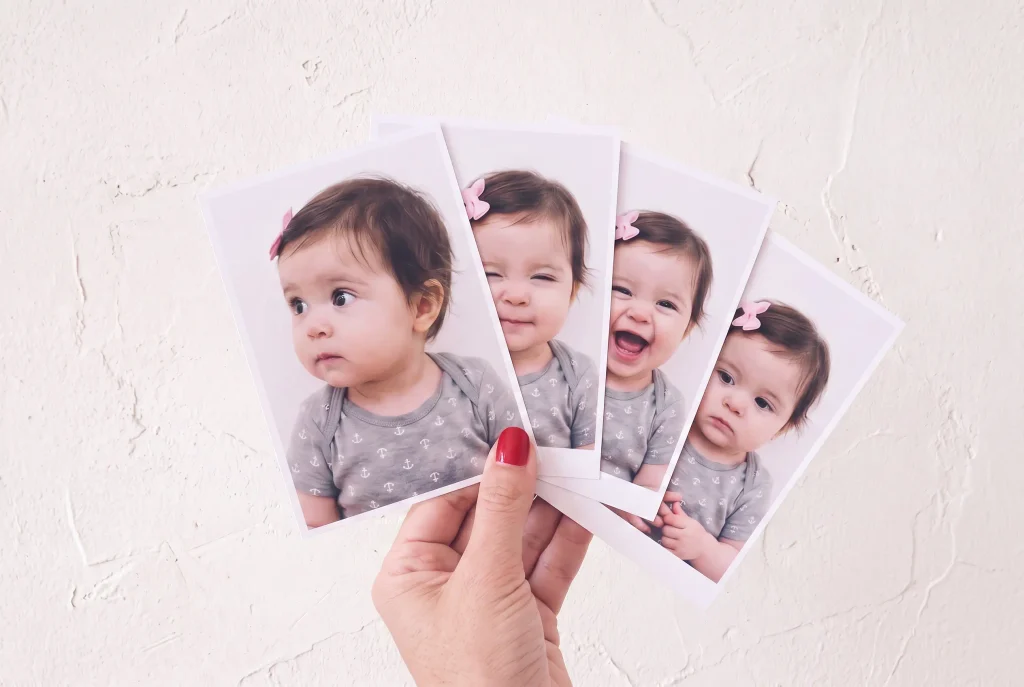
You’ll typically be shown a few shots and asked to pick your favorite before it’s printed, so you’re not stuck with a single take. If the printed photo somehow still gets rejected later, most pharmacies and shipping stores will reshoot for free, worth confirming that policy when you check in.
Why Baby Passport Photos Get Rejected
A rejected photo means restarting part of the application, which adds real weeks to an already long process. Almost every rejection comes down to one of these.
| Common rejection reason | Easy fix |
|---|---|
| A hand or fingertip in frame | Support baby with the sheet or car seat itself, not your hand, even at the very edge |
| Shadows across the face | Use even window light, avoid overhead flash or a single side lamp |
| Pacifier, toy, or bib visible | Remove everything from frame except the baby, no exceptions |
| Eyes open on a photo edited to look closed, or vice versa | Never use filters, AI editing, or apps that “clean up” the shot |
| Head turned or tilted | Shoot from directly above with baby flat on their back, face straight up |
What Should Baby Wear for a Passport Photo?
The best colors for a baby passport photo are soft, solid tones that contrast against a white background without competing with the face: pastel blue, soft pink, sage green, light gray, or pale yellow all work well. The State Department has no official clothing rule for infants, but the color choice matters more than most parents expect, because a photo where the outfit blends into the backdrop makes it harder to isolate and print correctly.
- A plain, solid-colored onesie or bodysuit
- Pastel blue, soft pink, sage green, gray, or pale yellow
- Nothing high-necked, so the shoulders read clearly below the face
- Pure white, cream, or very pale beige, all blend into the background sheet
- Hats, headbands, or hoods, even cute ones, unless worn daily for religious reasons
- Busy patterns or logos that pull focus from the face
My Verdict
“Try the at-home method once, in good faith, with your baby’s mood in mind. If it’s not clicking, a professional isn’t giving up, it’s the efficient choice.”
I’ve seen this go both ways up close, my own attempt at home with two extra people helping simply didn’t work, while a friend’s husband nailed it solo on his first try. Neither outcome says anything about you as a parent, it’s mostly about your baby’s mood that particular day. If you try and it’s not working, don’t burn an afternoon on it, a specialist photographer will likely take less time than your third failed attempt at home, and you’ll walk out with a photo you actually love.
Quick Recap: Before You Submit That Photo
Frequently Asked Questions
How do I take a baby passport photo at home?
Lay your baby flat on their back on a plain white sheet, shoot straight down in soft natural light, and take many shots since babies rarely cooperate on the first try. Crop tightly around the head and shoulders afterward, keeping any hands or objects out of frame.
Where can I take a baby passport photo near me?
Pharmacies like CVS and Walgreens, shipping stores like UPS, FedEx, and the post office, and dedicated photo studios all typically offer passport photo services. Call ahead to confirm they have experience photographing infants specifically.
What are the official passport photo requirements for a baby?
A 2 x 2 inch color photo, taken within the last 6 months, on a plain white or off-white background, with the head centered and measuring 1 to 1⅜ inches from chin to crown. Babies under 12 months may have their eyes partially closed, unlike older children and adults.
What should my baby wear for a passport photo?
A plain, solid-colored onesie in a soft neutral or pastel tone works best. Avoid pure white outfits that blend into the background, and skip hats or headbands unless worn daily for religious reasons.
Can a baby’s eyes be closed in a passport photo?
Yes, for babies under 12 months only. The State Department explicitly allows partially or mostly closed eyes for infants, as long as the whole face is visible. Every other child must have their eyes fully open.
Can I hold my baby while taking their passport photo?
No. Only the baby can appear in the frame, so any part of a parent’s hand or arm, even at the very edge, will cause the photo to be rejected. Use a flat sheet or a covered car seat for support instead.
How much does a baby passport photo cost?
Taking it yourself at home costs nothing beyond a white sheet you likely already own. A pharmacy or shipping store typically charges $10 to $20, and a dedicated baby photo specialist may charge slightly more.
Why does my baby’s passport photo keep getting rejected?
The most common reasons are a hand or object visible in frame, shadows on the face, a tilted head, or any digital editing or filters. Reviewing the photo closely against each requirement before submitting catches most of these issues.
Keep exploring